Gutter Installation in Lubbock, Texas
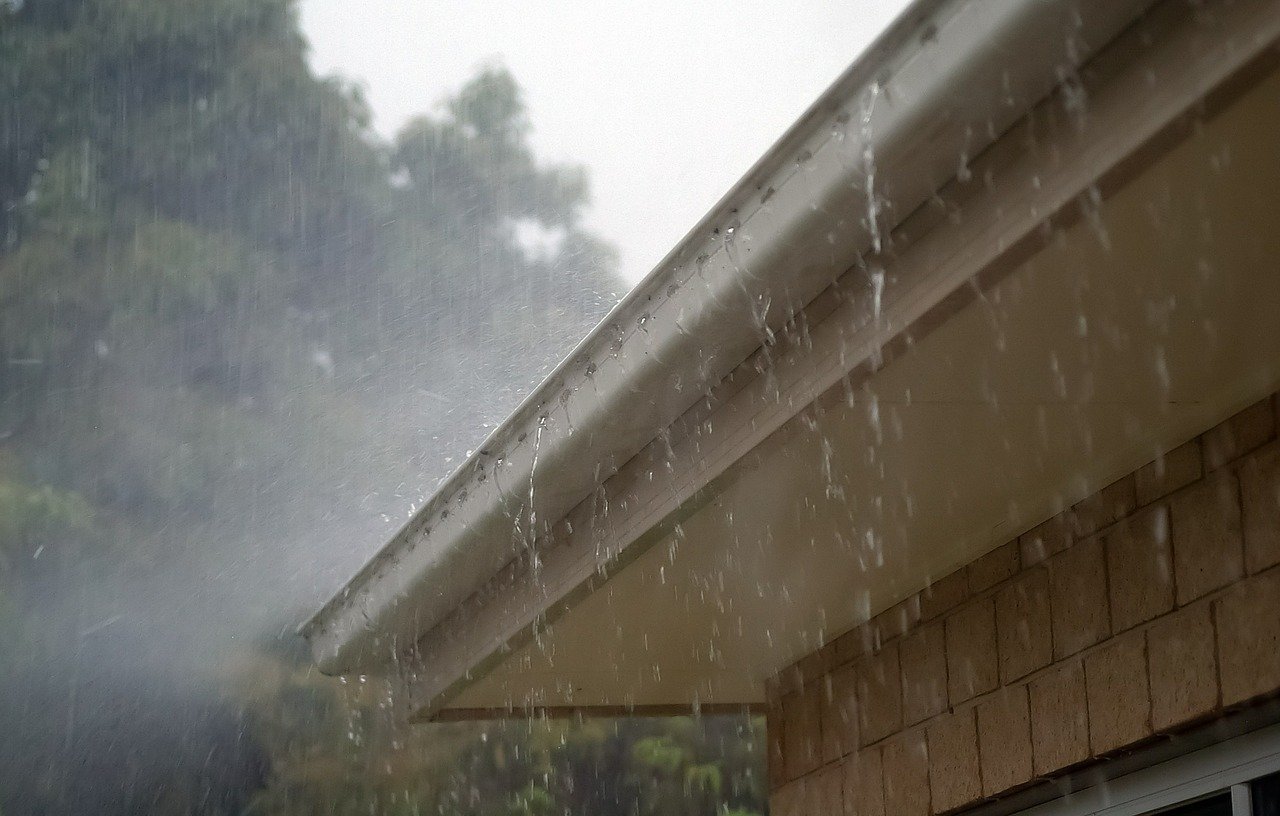
As much as we love rain, if your house lacks a foolproof gutter system, the rainy season can turn into a messy affair for you. Proper gutters are essential to keep the sanctity of your house intact. Besides ensuring a proper outlet for the rainwater, they also give your house a sleek and organized look.
If you are looking for an adept gutter installation contractor in Lubbock should you happen to live there, you’re in luck as Roof Master & Construction has you covered!
Gutter Installation Overview

There are a lot of things, big and small, that go into installing the perfect gutter system. Here is an overview of how we at Roof Master & Construction take care of your gutter installation needs.
How We Handle Gutter Installation
When you call us for gutter installation, we bring all the necessary tools required therein.
This includes:
Extension ladder
Screws
Hex head driver
Rivets
Cordless drill
Crimper
Elbows
Duckbill and Offset tin snips
Gutter
Gutter flashing & hanging strap
The above list is only illustrative and not exhaustive.
Gutter Installation Steps
STEP #1: Inspection
We first take a look at the fascia and soffit for signs of rotten wood. Needless to say, rotten wood needs to be replaced.
Also, if there is any trim board or crown molding fixated to the fascia, it needs to be removed as well.
However, as per your preference, we can alternatively attach a continuous strip of wood to get the flat pane needed for rain gutter installation.
Step #2: Planning
A thorough analysis of the house is done and its various segments are sketched, measured, and analyzed to exactly gauge the following:
-
- Dimensions of the gutters to be installed
- Location of downspouts
- Size of downspouts
- Slope of the gutters
- Number of elbows and brackets required
- The need for roof hanger mounting straps
Step #3: Cutting and Rejoining Gutter
Once the measurements are done and finalized, we get on with the task and start cutting and assembling the gutter on the ground.
It’s much more convenient to execute this task on the ground and then install the structure on the roof and seams of the house.
After notching, the gutters are joined together with the help of rivets and waterproof sealants.
We at Roof Master & Construction ensure that your gutters are as seamless as possible because sectional gutters are prone to leakages.
Gutter Installation Steps
Step #4: Outlets Installation For Downspouts
This task too is carried out on the ground – makes the process quicker, assuring, and safe.
Step #2 provided us with the measurements we needed. With their help, we cut holes in the gutters where the downspouts will be attached once the gutters are fixated to your homes.
Step #5: Attaching The Gutters and Downspouts
Now that we have everything in place, it’s time for the final step in gutter installation.
After ensuring that there is an adequate slope for the rainwater to easily barge in and settle in the gutters, we screw the gutters to the fascia, add gutter flashing, and hook on the gutter hanging straps to provide the support the gutters need.
Once the gutters are properly attached to your house, our focus then shifts to the downspouts and their proper installation.
The connection between the downspouts and the gutters is brought about by elbows. And to ensure that the downspouts aren’t lingering in thin air, they are attached to the wall of the house with the help of brackets.
Pro Tip: Maintenance of the gutters determines their longevity to a great extent. To negate problems such as backed-up gutters and clogged downspouts, make a note that you clean them of leaves and dirt at least twice a year.
